Add a Tugboat Bot to your Team
When Tugboat posts comments to a pull request, those comments show as being made by the user who linked Tugboat to the git repository. In practice, this means that the person who sets up the Tugboat account will get the git provider’s notifications on pull requests; not because they’re intentionally watching or commenting on the pull requests, but because of the automated comments that Tugboat posts as that person.
If you’d instead like those comments to show as coming from Tugboat - and free the user who links the account from a barrage of notifications - you can add a Tugboat bot to your team.
To add a Tugboat bot to your team
- Create an account for your Tugboat bot at your preferred git provider (i.e. GitHub, GitLab, BitBucket) and invite that user to the repository as an administrator.
- Optional: Download the tugboat avatar to use for your Tugboat bot account.
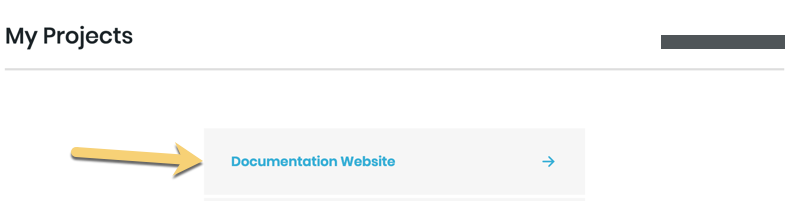
- Go to username -> My Projects at the upper-right of the Tugboat screen.
- Select the project where you want to switch to the Tugboat bot.
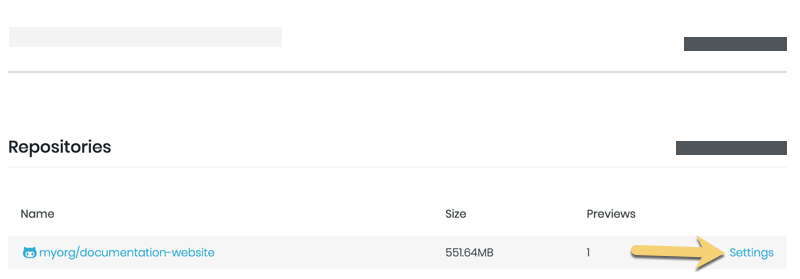
- Click the Repository Settings link next to the repo where you want to switch to the Tugboat bot.
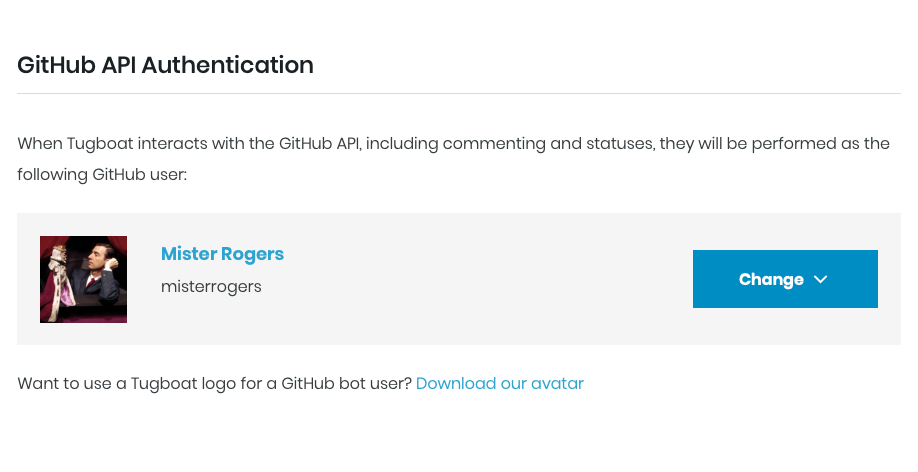
- Scroll down to the API Authentication section (GitHub API Authentication, GitLab API Authentication or BitBucket API Authentication).
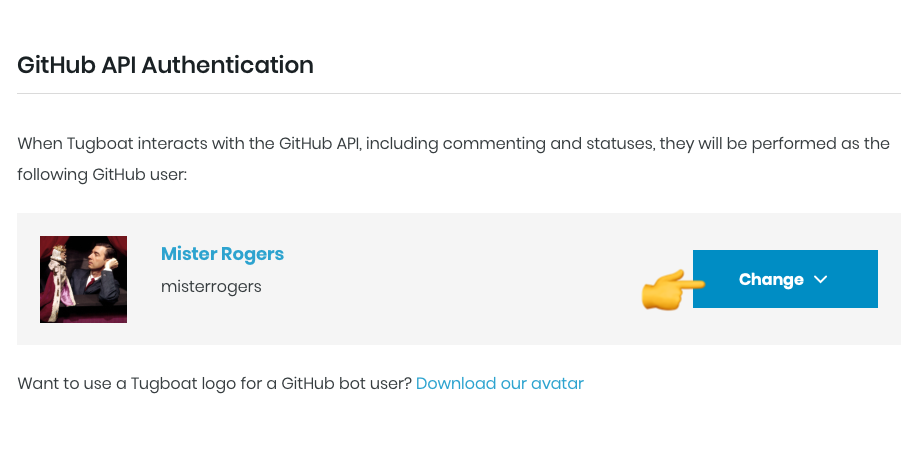
- Press the big blue Change button.
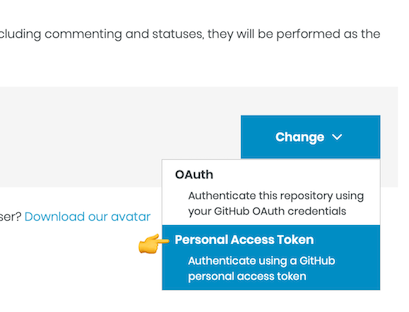
- Choose Personal Access Token from the drop-down.
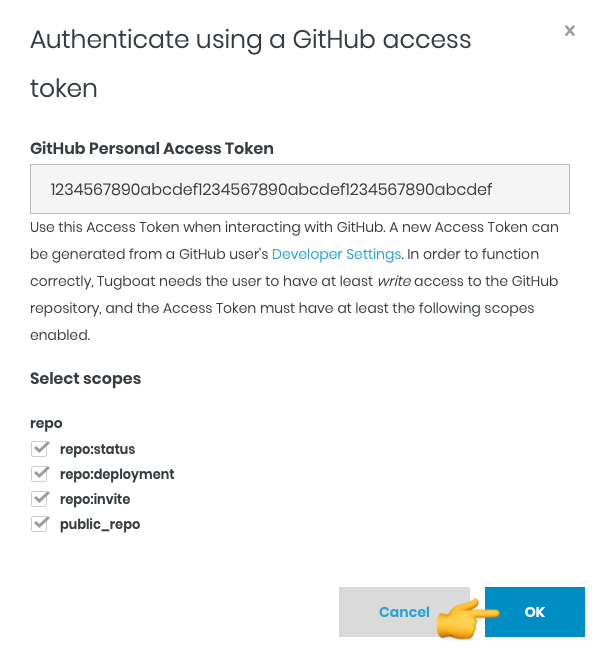
- Carefully read the help text on this next modal window. You will need to go back to your git provider (GitHub, GitLab, Bitbucket) and create a personal access token (or App password, as Bitbucket calls it), being sure to grant the permissions to the token that are described in the help text on our modal window.
- Once created, enter the access token for the Tugboat bot user you created at the git provider.
- Press the OK button.
Now, whenever Tugboat adds comments to a pull request, the comments will display from the Tugboat bot, and the Tugboat bot’s account will get any subsequent notifications from the provider.
Visual Walkthrough
Create an account for your Tugboat bot at your preferred git provider; i.e. GitHub, GitLab, BitBucket.
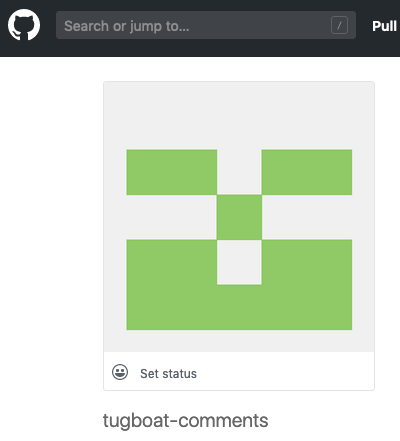
Optional: Download the Tugboat avatar to use for your Tugboat bot account.
![]()
![]()
Go to username -> My Projects at the upper-right of the Tugboat screen.

Select the project where you want to switch to the Tugboat bot.
Click the Repository Settings link next to the repo where you want to switch to the Tugboat bot.
Scroll down to the API Authentication section (GitHub API Authentication, GitLab API Authentication or BitBucket API Authentication).
Press the big blue Change button.
Choose Personal Access Token from the drop-down.
Carefully read the help text on this next modal window. You will need to go back to your git provider (GitHub, GitLab, Bitbucket) and create a personal access token (or App password, as Bitbucket calls it), being sure to grant the permissions to the token that are described in the help text on our modal window.
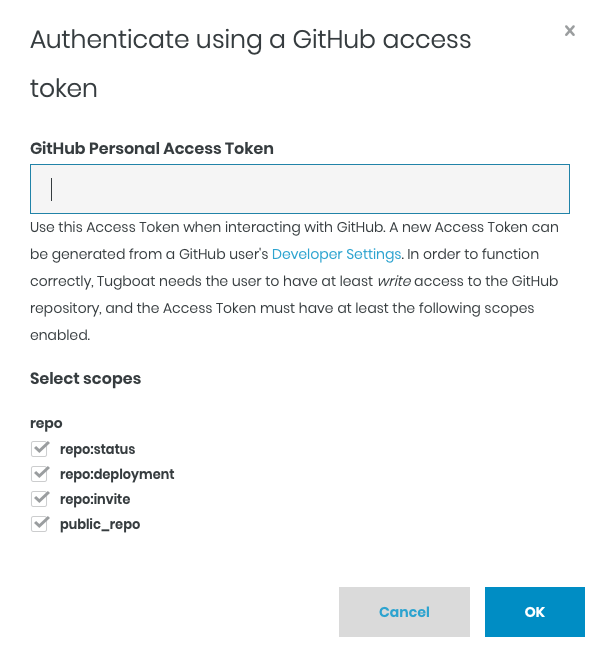
Once created, enter the access token for the Tugboat bot user you created at the git provider.
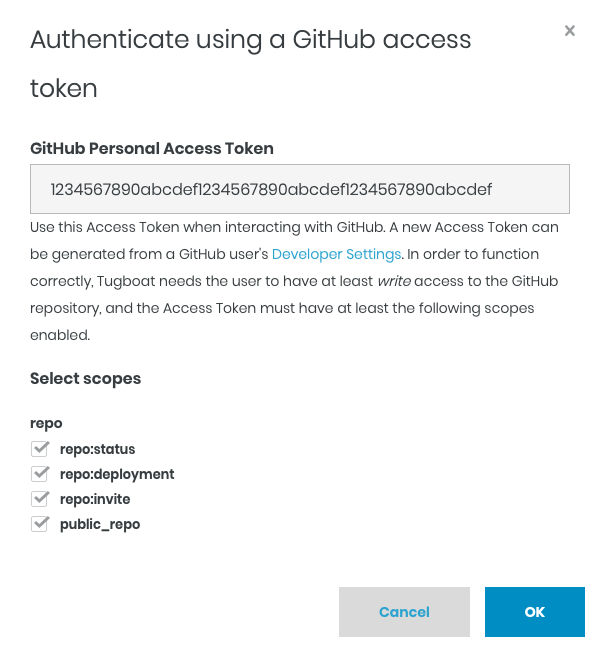
Press the OK button.