Set an Access Token
The first time you attempt to access a Tugboat resource in the Command Line Interface, you’ll be asked for an Access Token.
To set an Access Token:
- In Tugboat’s web interface, go to User Name -> Access Tokens, or click this link.
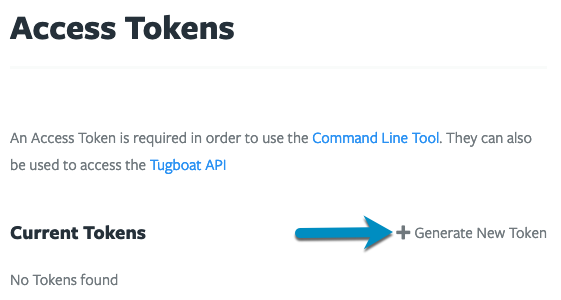
- Click the Generate New Token option.
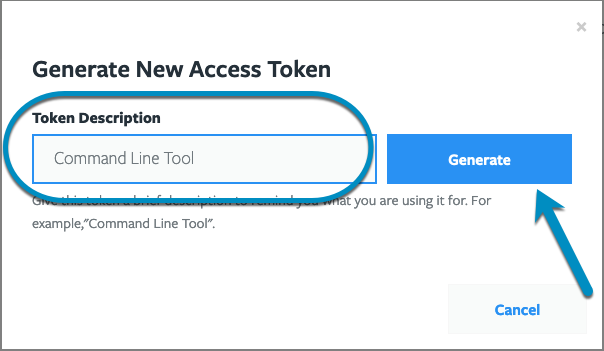
- You’ll be asked to give the Access Token a description; for example, “Command Line Tool”; enter a description and press the Generate button.
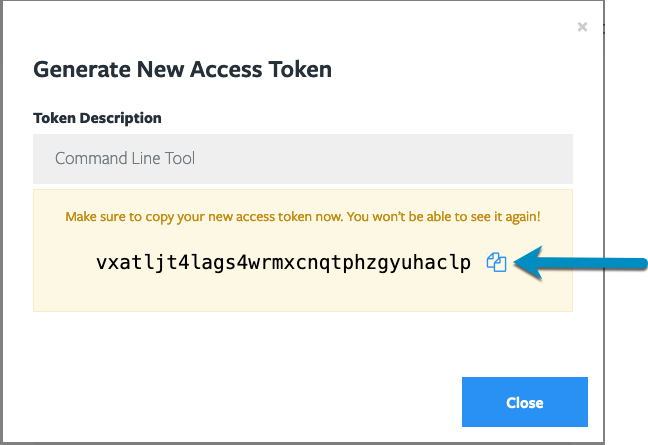
- Make sure you save your Access Token somewhere safe, such as 1Password or other password manager.
- When you run the CLI, and attempt to access a resource, you’ll be asked for an Access Token; paste it in and hit
Yto remember it.
Tip
1Password users can install a shell plugin for the 1Password CLI so that your Tugboat token will be encrypted, stored securely, and accessible from any machine. Thank you to Mark Dorison of Chromatic for contributing this plugin.
Now you’re all set to use the Tugboat Command Line Interface!
Visual Walkthrough
In Tugboat’s web interface, go to User Name -> Access Tokens, or click this link.

Click the Generate New Token option.
You’ll be asked to give the Access Token a description; for example, “Command Line Tool”; enter a description and press the Generate button.
Make sure you save your Access Token somewhere safe, as you won’t be able to see it again!
When you run the CLI, and attempt to access a resource, you’ll be asked for an Access Token; paste it in and hit Y to
have the CLI remember it.
