Create a New Project
Once you’ve connected Tugboat to your preferred git provider, it’s time to create a new project!
Once you hit the Create Project button, it’s anchors away!
How to create a project
The first time you sign into Tugboat, you’ll go directly to the Create New Project screen.
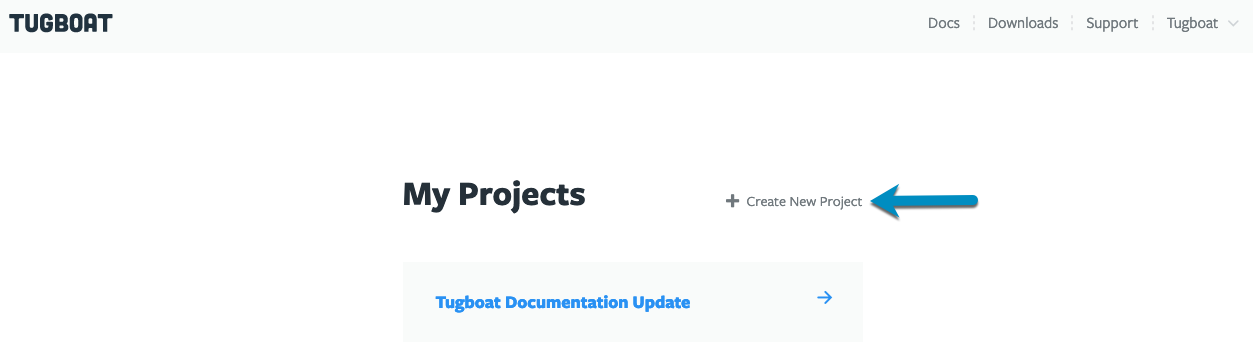
After you’ve already got a project, you can add more by going to the Tugboat Dashboard and selecting Create New Project.
Things to know about Tugboat projects
When you’re creating a project, there are a few things to keep in mind:
- A Tugboat project is a collection of any number of repos across git providers
- Tugboat’s pricing tiers and billing are specified on the project level, not based on the number of repositories
- Users are managed on a per project basis
Deciding which users need to be able to access which projects can help you figure out how you want to organize, too. For example, let’s say you are building a recipe site that consists of a backend Drupal repository and a frontend React repository. If the entire development team should have access to both repositories within Tugboat, you should probably create a single project for both repositories in Tugboat.
On the other hand, let’s say you have a WordPress blog that is managed by an outside vendor. Also, you have a separate and unrelated Node.js application that is a “top secret” internal project your company is working on. It may be best to create two separate projects so that you can manage permissions for each of the projects independently.